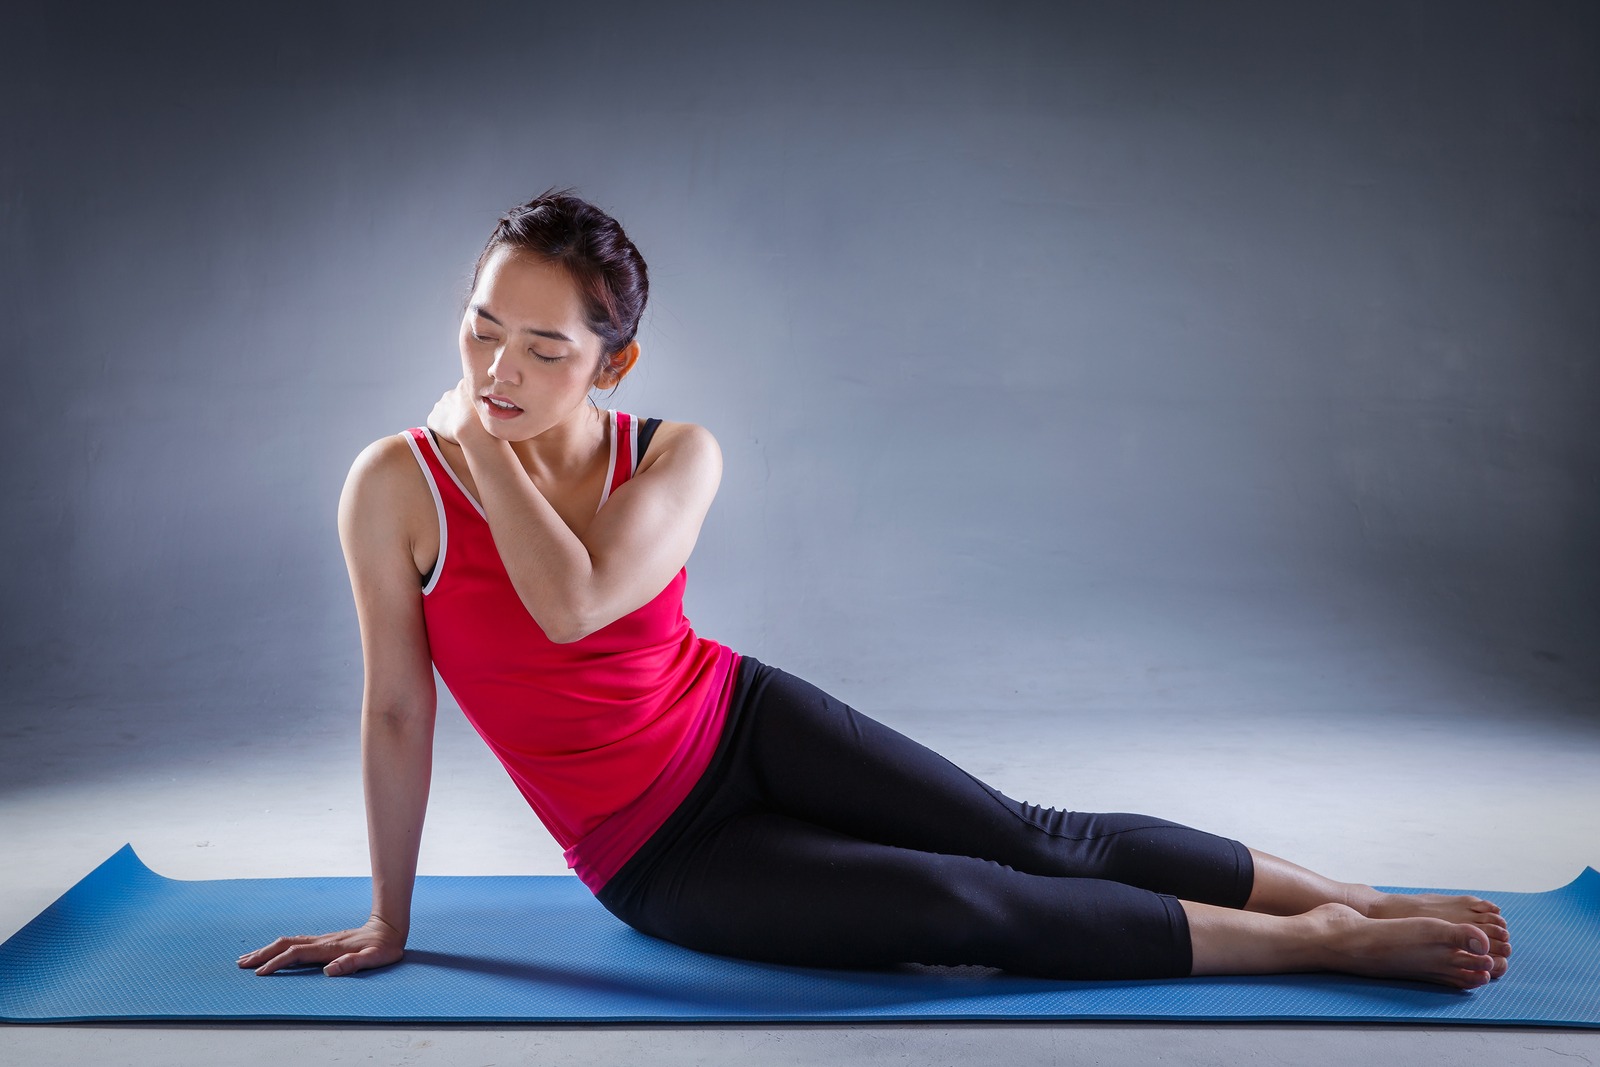
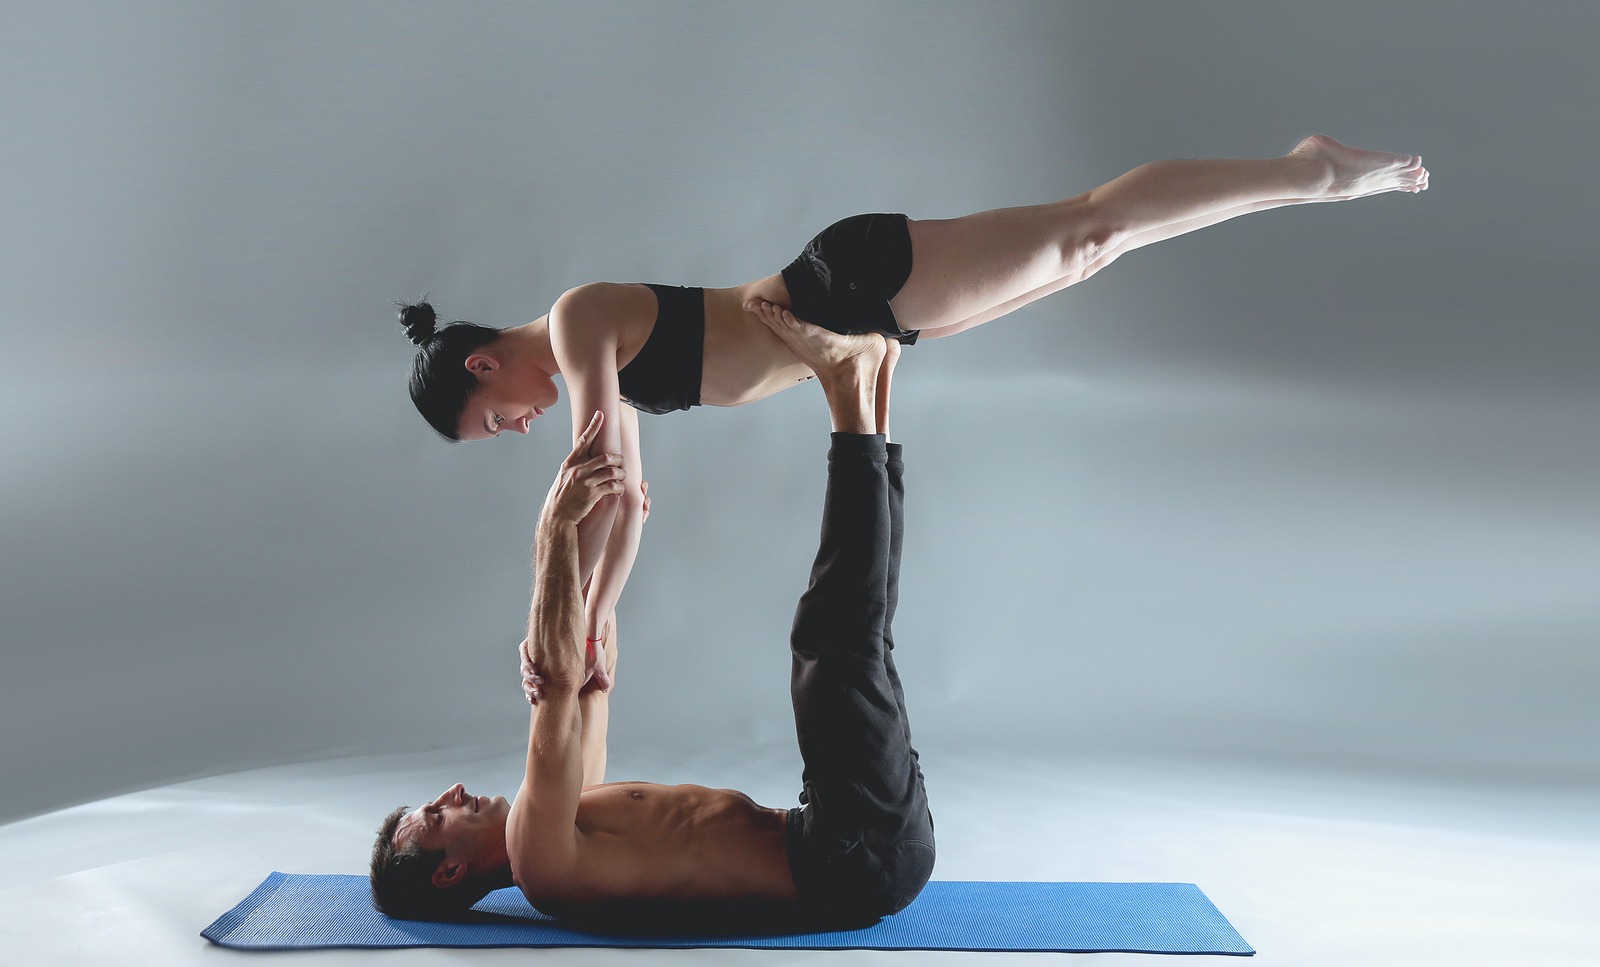
Yoga has numerous health benefits such as increased strength and flexibility, lower blood pressure, and reduced stress, anxiety, and tension. Studies have also shown that yoga can reduce pain, speed up metabolism, as well as improve heart rate and respiration.
Yoga practice is so beneficial that about 37 million people across the U.S. choose to regularly engage in it. And this number only keeps growing.
However, despite all these benefits, yoga can cause harm if done incorrectly.
What You Need to Know About Yoga Injuries and Pain in Asana

Most yoga injuries go unreported because they aren’t severe. Yet, more serious injuries do occur and they are on the rise.
These include strains, sprains, dislocations and fractures. In rare cases, sciatic nerve damage, bone spurs, and even stroke can also happen.
Don’t get alarmed and quit your yoga practice though. Yoga experts assure that injuries are possible at any time regardless of the sport or activity you engage in. Even if you’re simply walking down the street.
Most importantly, severe yoga injuries are rather rare. Most of them develop gradually over time due to constant misalignment and over-stretching.
Therefore, to avoid injuries from occurring, you need to perform each pose correctly. You also need to be mindful and listen to your body for any signs of pain. That is also true for any other physical activity.
Let’s look at some of the most common yoga injuries to make sure you know what to watch out for.
The Most Common Yoga Injuries (And How to Make Sure You Don’t Get Them)

1. Wrists
Wrist issues usually happen if you place or “dump” all of your weight into the wrists in poses where hands are on the mat. Doing so consistently can lead to muscle and joint injuries.
What to Do Instead:
To avoid wrist pain and injuries in downward facing dog pose and similar postures, spread your fingers wide and press them firmly into the mat. Remember to also distribute weight evenly between both hands.
In down dog pose, try to also create length in your back by pushing your hips back. This will decrease the angle between your wrists and the floor.
In arm balances like crow pose always stack your elbows over the wrists.
2. Elbows
If you bend your elbows to the sides in poses such as chaturanga, you risk developing elbow joint pain.
We know it’s easier to do the pose this way, but you aren’t actually doing yourself a favor. In addition to stressing your elbows, you also can put too much pain on the outer edges of your wrists.
What to Do Instead:
When lowering down from plank pose to chaturanga, always tuck your elbows close to your ribs. Also, make sure that the creases of your elbows face forward.
If you aren’t quite ready for that yet, modify your chaturangas by lowering down your knees. This will help you do it safely and correctly until you gradually work up the strength needed for the unmodified version of the pose.

3. Shoulders
If you raise your shoulders up toward your ears, for example, in upward facing dog pose, you compress the shoulders and risk causing muscle injuries. That is because you stop using the supporting muscles in your shoulders, arms, and neck.
You can even over-stretch your shoulder joint and dislocate it. It also becomes easy to injure the rotator cuff or the shoulder girdle.
What to Do Instead:
Make sure to draw your shoulders back and keep them away from your ears. Avoid pulling too hard on the shoulders in poses that involve stretching.
4. Ribs
Twists are excellent for releasing tension. Yet, they can over-stretch or bruise your intercostal muscles (ones in between your ribs) if done incorrectly.
What to Do Instead:
To safely practice twisting poses, you need to lengthen through the spine on inhalations. Imagine a string that is attaches to the ceiling and gently is pulling the crown of your head upward.
Then, twist on the exhalations. Keep in mind that you should feel a comfortable and gentle stretch. Never push past it, even if you are flexible.
5. Lower Back
Lower back pain is one of the most commonly reported yoga injuries. Yoga instructors believe that it happens due to rounding the spine in down dog pose and forward folds. They require flexing the spine in the opposite direction that it is supposed to. This can result in aches after the yoga practice and even disk problems.
What to Do Instead:
Instead of rounding your spine, try lengthening it and bending through the hips. If you are having problem keeping your back straight, tight hamstrings may be the reason for that. So, slightly bend your knees. It will help you perform poses such as forward bends and down dog pose.
In seated forward folds, place a block or a blanket under your hips. It’ll take the pressure off of the lower back and help you keep it straight.
6. Hamstrings
Are you working a desk job or spending lots of time in class or driving? Sedentary lifestyle often causes tight hamstrings. As a result, you can easily pull or even over-stretch them in forward folds.
What to Do Instead:
Lunges and down dog pose are great for developing flexibility in the hamstrings. But, you need to practice at your own pace and approach them slowly.
If you already have developed hamstring injury, it’s best to skip poses that lengthen the back of your body including the legs.

7. Hips
Poses like splits, wide-legged forward folds, and warrior poses require a wide range of motion in the hips. So, you can over-stretch and even tear the muscles in your inner groin or inner thighs.
What to Do Instead:
In warrior I pose and similar, your hips need to be squared forward. Make sure that your toes point forward, too. Slightly bend your knees if needed.
8.Knees
Even experienced yogis can suffer from knee issues. They often tend to last for a long while. Most commonly, these yoga injuries happen in the cross-legged position like full lotus pose.
Flexibility in these poses needs to come first from the hips. However, if hips are tight, that places lots of stress on knees which is where you are most likely to feel tension or pain.
What to Do Instead:
In standing postures like warriors, make sure your knees do not go forward past your ankles. This way, your body will be able to distribute weight properly and you will not put unnecessary stress on your knees.
If you are still working on the flexibility in your hips, avoid sitting cross-legged or in lotus pose for long stretches of time. Keep working on your hip flexibility instead.
In the meantime, feel free to place blocks or blankets under your knees. This will reduce any strain or discomfort.
9. Neck
Lower back issues may be the most common, but neck injuries in yoga can be a lot more dangerous.
Continuously placing inadequate pressure on the neck can compress it and put stress on the cervical vertebrae. This can result in joint issues, or cause the loss of neck flexion in severe cases.
Headstands and shoulder stands are the most common poses for this to occur.
What to Do Instead:
If you suffer from chronic shoulder or neck issues, it may be best to avoid inversions. Make sure to practice with an experienced teacher if you choose to keep doing them though.
Alternatively, you can place a blanket under your shoulders and back in shoulder stands. That will create more space for the neck and decrease the angle at which it bends.
If you practice this pose without any props, remember to draw your shoulder blades back and down. This will help you to safely support your body.
Finally, avoid jerking your head when exiting shoulder stand or upward plank pose. It can destabilize your body, and increases the risk of falling.

How to Stay Safe in Yoga Practice
Yoga injuries can be scary. Yet, they should not be the reason to deter you from yoga practice altogether. Proper pose alignment is key to stay safe and reap the health benefits of yoga. Here are a few guideline for you to follow:
1. Keep Your Ego out of Your Yoga Practice
Advanced yoga postures can feel very appealing. And, sometimes, they may look easier than they actually are. Nonetheless, this is the surest way for yoga injuries to happen.
Yoga is not about competition, but about following your own yoga journey. Do not try to push your body where it’s not yet ready to go. Also, keep in mind that every single body is different. So, it’s possible that there is a pose that may never be possible because of that.
2. Always Warm Up
Warm up is essential for any physical activity. Same applies to yoga. Gentle twists and stretches will prepare your body for more challenging postures.
Warming up your mind is equally as important. Don’t jump straight into your practice. Take a couple of breaths, chant a few Oms, and spend some minutes in meditation. It’ll help you to clear your mind and get grounded.
3. Start Slow
You wouldn’t attempt Tour de France the first time you get on a bike, right? Yoga works the same way. A headstand or full lotus pose may not happen in your very first yoga class.
Instead, chose classes that cater to beginners and gradually develop the strength and flexibility for the more advanced asanas. Rest in child’s pose whenever you need it.
4. Talk to Your Teacher
Make sure to talk to your yoga instructor and inform them about any injuries or health issues you may have. This is help them offer safe modifications for poses. Take advantage of the props, too.
Keep in mind that you don’t need to do every pose in the sequence. It’s OK to skip a pose that is too advanced or doesn’t feel right. Focus on the poses that your body is ready for and that feel good.
5. Enter and Come out of a Pose Slowly
Ease into poses slowly and come out of them at approximately the same speed. Especially if have been holding a pose for a few minutes.
6. Get Comfortable with Props and Modifications.
Props and modifications are excellent if you aren’t yet ready for the full pose. They will ensure that you reap its benefits without compromising your safety. Pushing through tightness and discomfort will require other body parts to compensate and can cause more harm.
There’s nothing wrong about using props in yoga, and even advanced practitioners can benefit from them.
7. Avoid Locking Out Your Joints
Locking the joints is also known as hyper-extension. It can wear out joints and cause injury over time. Instead, engage the muscles around the joints. This will help you develop strength, gain stability, and protect your joints.
8. Take Care of Yourself If You Get Injured
Never push though if you damage something doing yoga. Feel free to leave class early if that happens. Take care of yourself and consult a medical professional if need be.
9. Stick Around for Savasana
Some find it temping to skip savasana and leave class when their yoga teacher instructs to move into it. Stay for the final resting pose instead. Even a few minutes in it can be beneficial for your health.
It allows your body to cool down and slows down your nervous system. It also brings closure to your practice so that you can leave feeling relaxed and recharged.
10. Always Listen to Your Body.
Stay mindful throughout yoga because your practice won’t be the same every time. Listen to your body as you would to any other human being. Notice if there is any tightness or strain in your body and act accordingly.

Magda Felcio, a certified Vinyasa Flow Yoga teacher in Brazil, is deeply passionate about the grace and transformation this practice offers. With a commitment to empowering her students, she creates harmonious and flowing sequences that focus on alignment and mindfulness.

