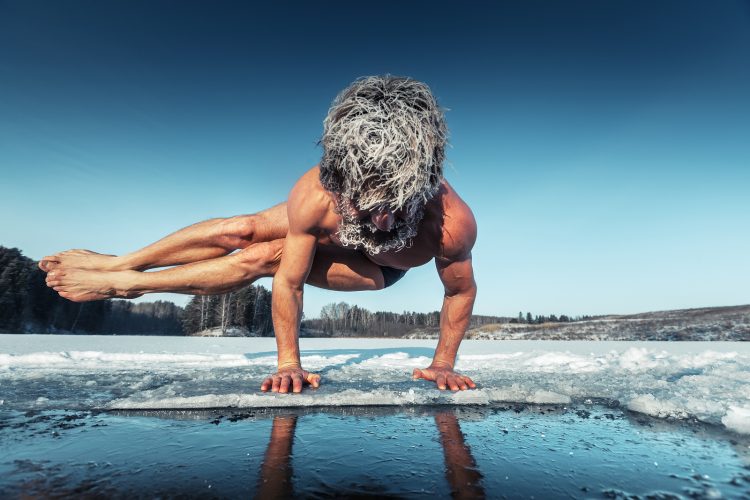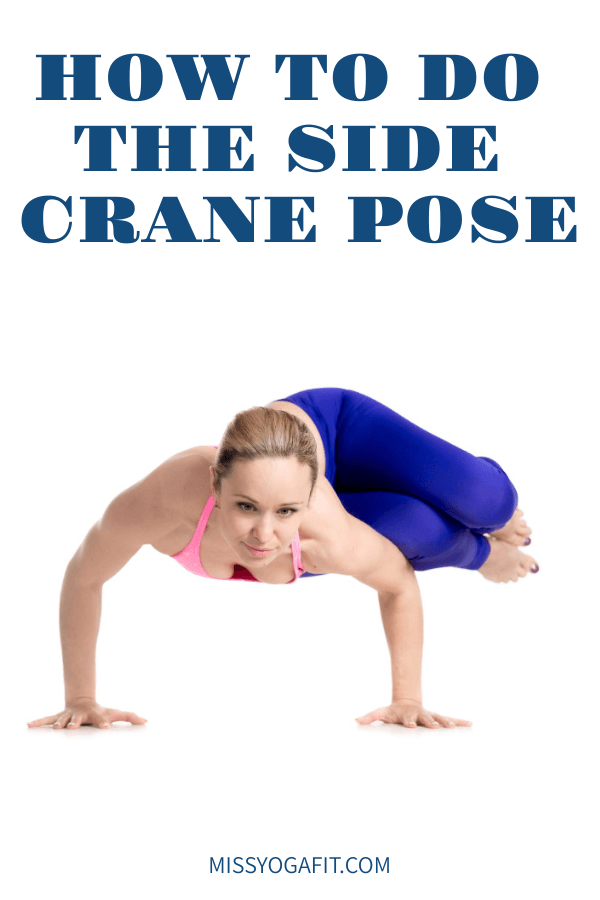
The aim of the side crane pose is to create enough space between of the upper arms near the other thigh.
POSE INFORMATION
GENERAL INFO
Name in Sanskrit: Parsva Bakasana
Difficulty: Hard
POSE BENEFITS
- The pose increases the sense of balance.
- It makes the wrists and arms stronger.
- It tones the muscles of the belly and strengthens the spine.
POSE CAUTIONS
This pose is not recommended to anyone with a back injury, especially individuals with lower back pain.

HOW TO PRACTICE THIS ASANA
ONE
Start by folding your knees like you are doing a half-squat. The thighs are kept parallel to the floor. To ensure your heels stabilized on the floor, place a folded blanket for support.
Move the left elbow to the exterior of your right thigh and relax the belly.
TWO
Breathe out and twisting your trunk rightward. Move the lower left ribs over the right thigh. Do this pose as far as you can.
THREE
Move the back of the left arm downward towards the exterior of the right thigh. Move your outer armpit to the exterior of the thigh as much as possible.
Now keep the arms in position and do a simple bend of the back. Push the right shoulder to the back which will cause your torso to twist deeper.
FOUR
Continue this process of alternatively bending the back and twisting the body until you reach your limit of the circle. Move the left upper arm some inches to the right hip. Push strongly over your right thigh.
Keep this pressure and push the upper arm to the back and to the right knee. Don’t let your skin slide though. Now the flesh of your upper arm is rotated outward and locked in place. After your arm is in place over your thigh, notice the point of contact on the skin.
Keep to this posture for the entirety of the pose.
FIVE
Squatting completely, let your buttocks be at the top of your heels. Put your left palm over the floor at the exterior of the right foot. Your hand might not get to the floor completely, so lean your body to the right to allow you to put your palm flat on the floor.
Keep the contact between the left upper arm and the right outer arm. Then, move towards the right, and keep moving till you are able to put the right hand on the floor. Maintain your hands apart as far as the width of the shoulders. Keep hem on a position which is a line imagined being drawn diagonal to the right foot and it is angled towards the heel.
Ensure that the fingers are parallel to each other on the floor. The largest part of your weight is on your feet.
SIX
Now as you try to raise the pelvis, your focus should be on how to maintain the contact between the left arm and the right thigh.
Move to the right and bring the abdomen up and onto your hands. Of course, this isn’t the standard balance point. However, getting close enough will bring the exact position closer by feel.
If you try to move closer, the weight on the hands will rise and the weight on the feet will be reduced.
SEVEN
It’s time to round up the pose. Ensure that your feet aren’t apart and push along the inner sides. Pull the hips to the buttocks. Breathe out and relax the belly. Press the left hip towards the floor and carry both feet up.
The left is likely to remain bent. Try to keep it straight with all your might and ensure that the legs aren’t sliding down. Keep your right arms totally straight. Now, pull up your shoulder and twist the spine. Raise your head and chest and stare at the front.
Stay in this pose for 20 seconds or longer, if possible. Then, release your feet back to the floor while breathing out. Do the same for the other side and for the same duration.
How to practice the Side Crane Pose (Parsva Bakasana)
BEGINNERS TIP
As a beginner, maintain your balance while performing the side crane pose.
Katty Linsky, a certified Restorative Yoga teacher based in the vast landscapes of Russia, has dedicated herself to the art of yoga.
Her journey through yoga, particularly the gentle practice of Restorative Yoga, has been a transformative and enlightening one, rooted in a deep passion for holistic wellness and a commitment to sharing its benefits.

